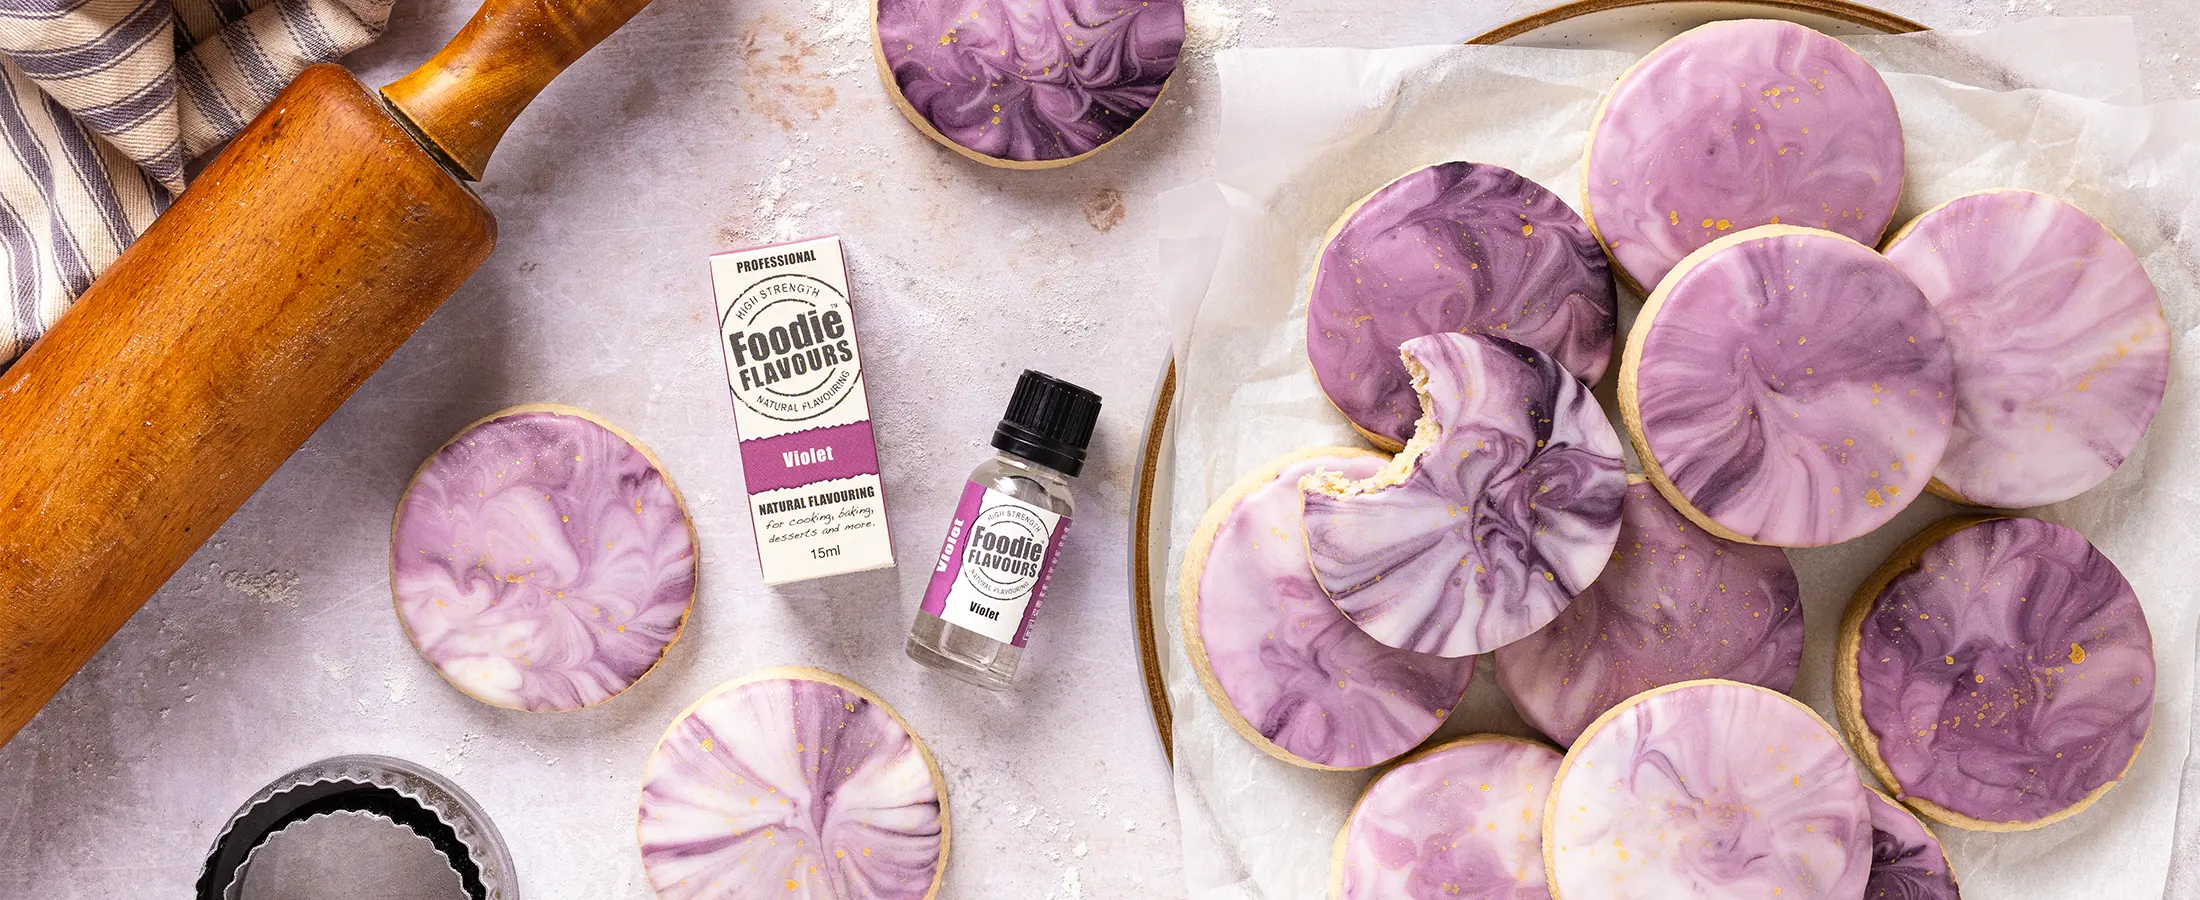
Tie-Dye Showstoppers Full of Sweet Floral Nostalgia.
Almost as beautiful as the blossoming flowers of spring, these tie-dye Parma Violet iced biscuits are full of elegance and nostalgic flavour.
A rich vanilla biscuit base, topped with violet infused royal icing. Perfect for afternoon tea, sharing with friends, or a treat for your sweet tooth. Whip up a batch and delight with the whimsical, old-fashioned taste of parma violets.
Ingredients
Biscuits
- 225g Plain Flour
- 75g Self Raising Flour
- 100g Caster Sugar
- 100g Unsalted Butter, chilled
- 1 Large Egg, slightly beaten
- 1-2 Tsp Whole Milk
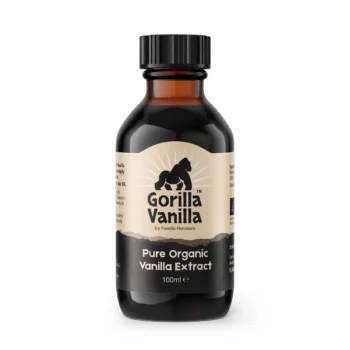
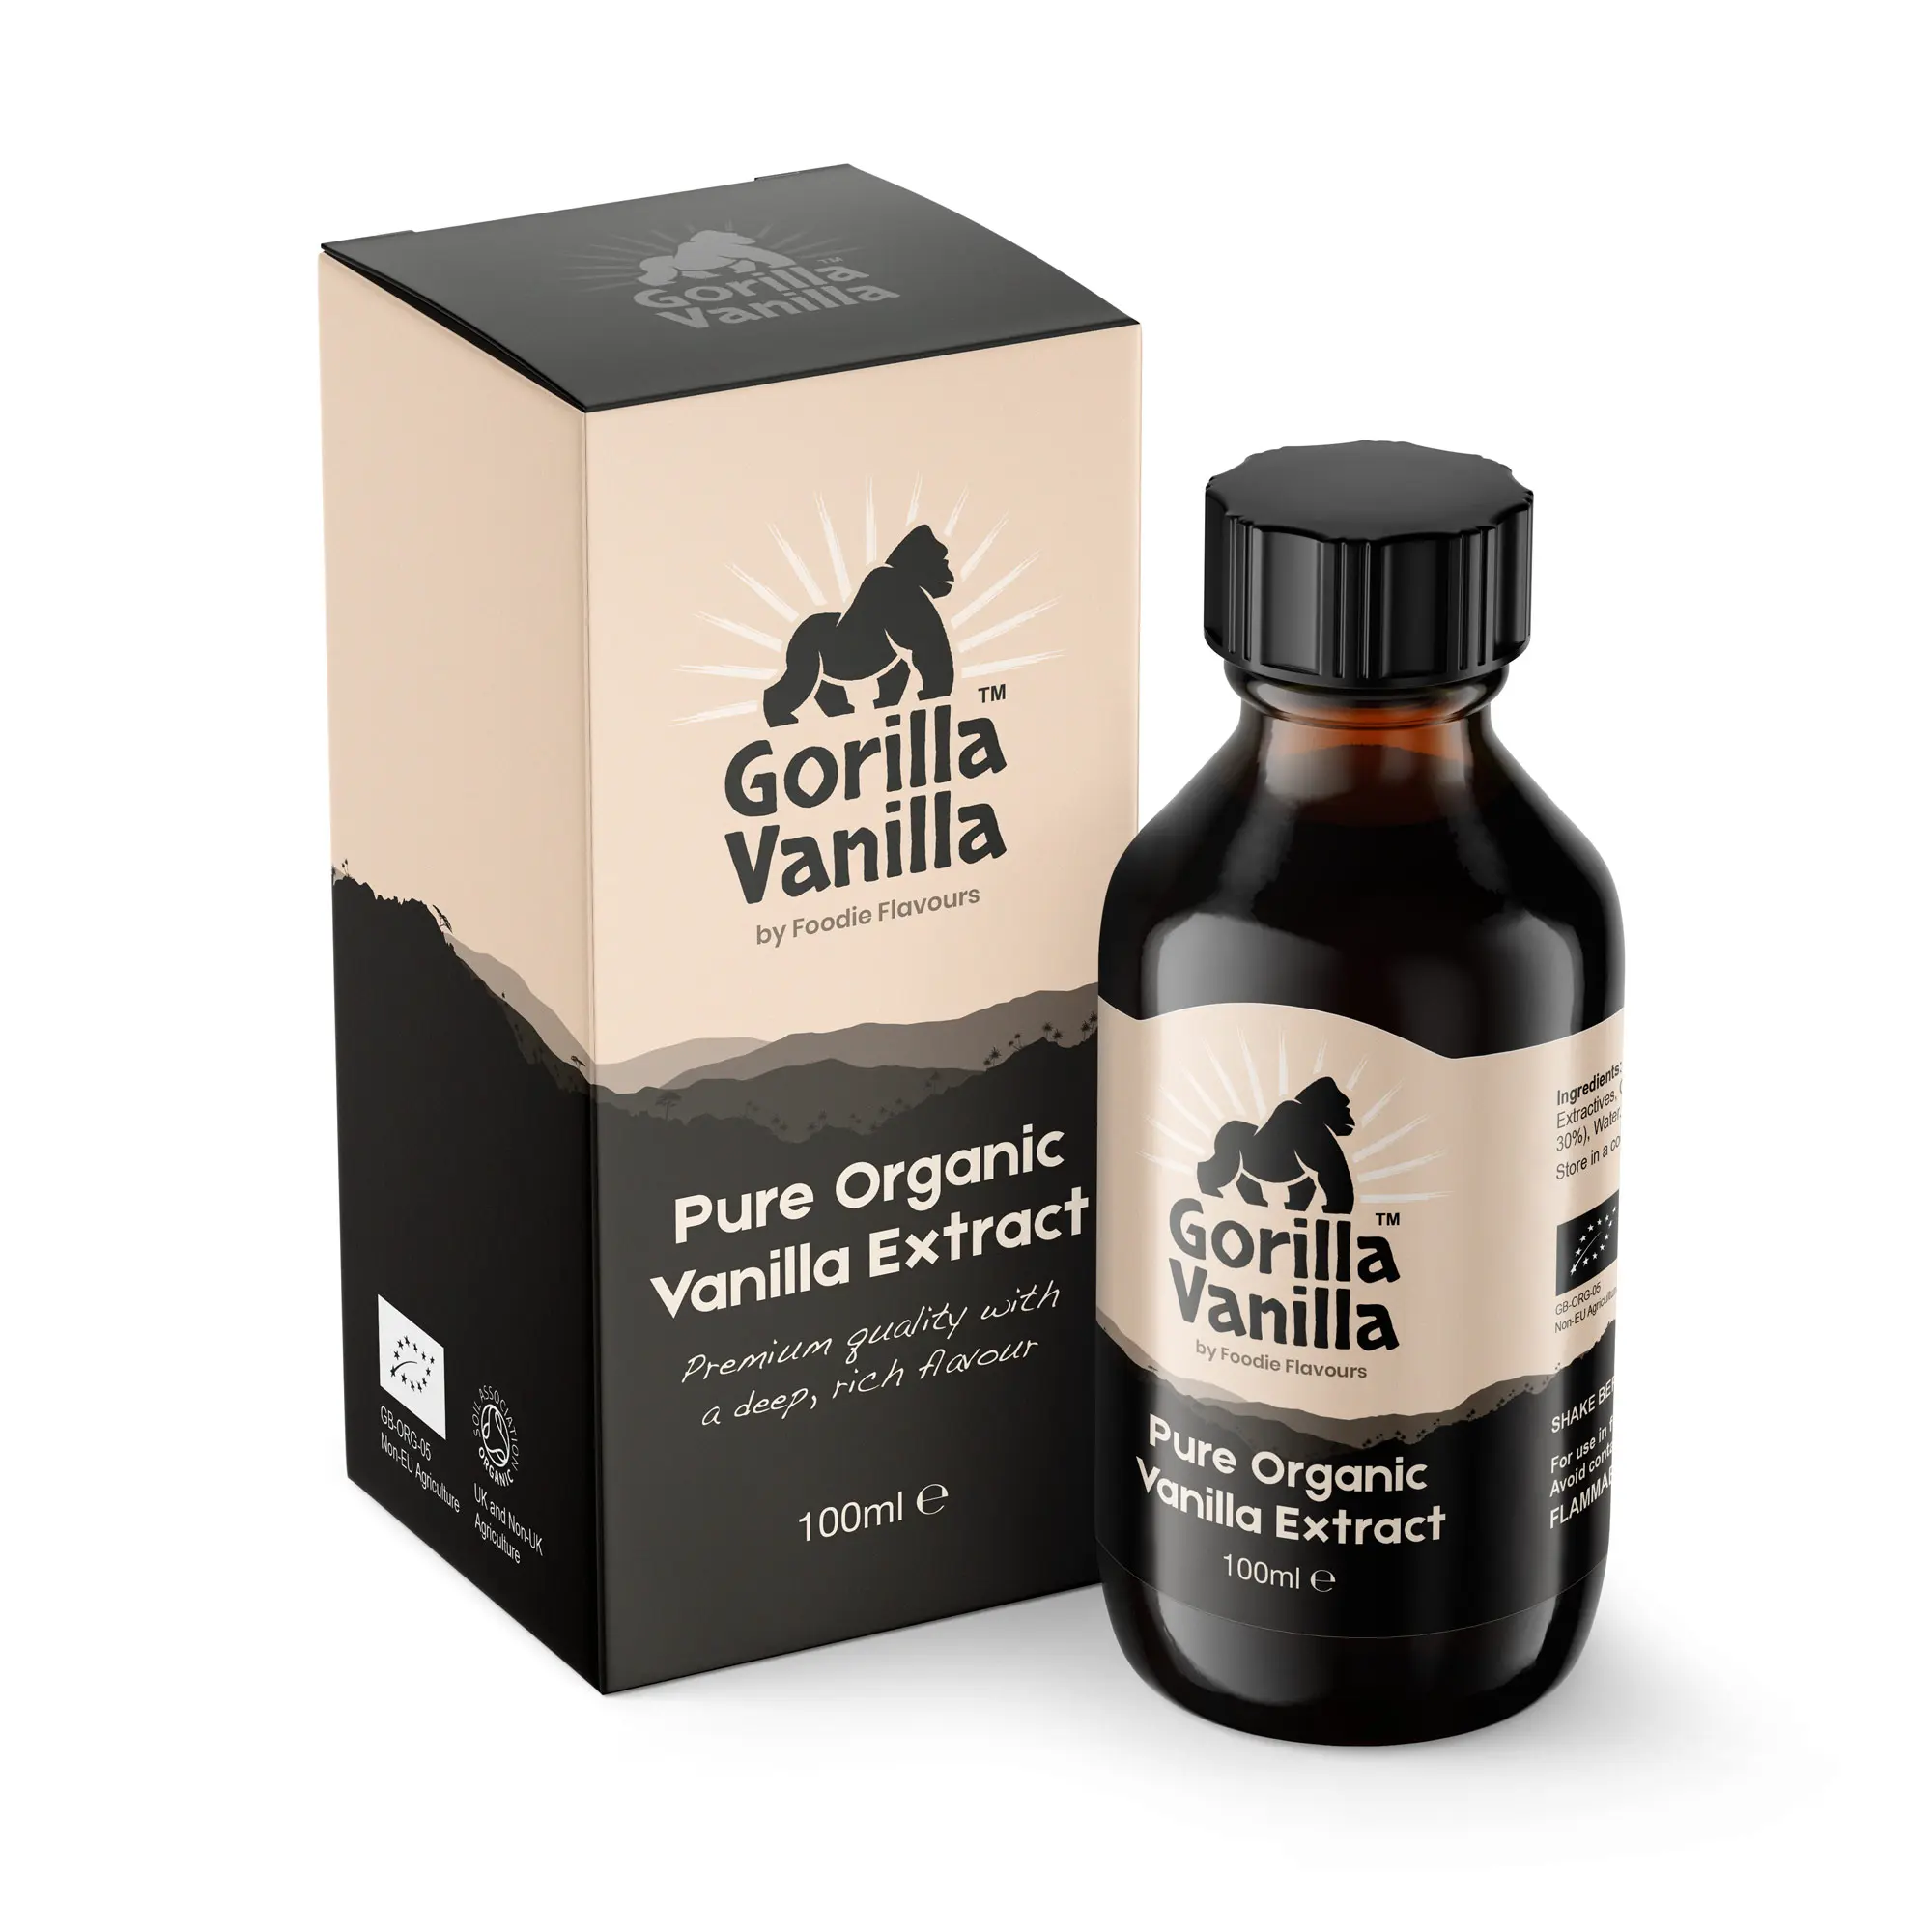
- 1 Tsp Gorilla Vanilla – Organic Vanilla Extract
Icing
- 300g Royal Icing Sugar, sifted
- 2-3 Tbsp Water
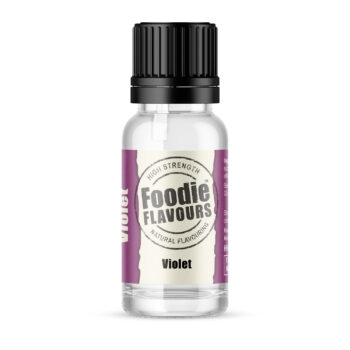
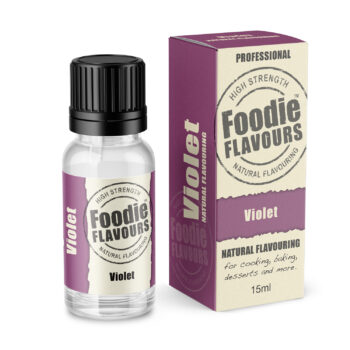
- 15 Drops Foodie Flavours Violet Natural Flavouring
- Purple Food Colouring
- Gold Food Paint (optional)
Instructions
Servings 15 / Prep time 25 mins, plus drying time / Cook time 12 mins
Biscuits
- Mix together the flours in a large mixing bowl.
- Cut the butter into small chunks and add to the bowl.
- Rub the butter into the mixture using your fingertips until you have a breadcrumb consistency.
- Stir in the sugar.
- Make a well in the centre of the mixture and add the egg and vanilla extract. Mix together and form a ball of dough. If the mixture is too dry, add 1-2 tsp of milk.
- Place the dough onto a sheet of non-stick baking paper and roll out using a rolling pin. You want the dough to have a thickness of between 5mm and 7mm.
- Put the sheet of rolled out dough in the fridge to chill for at least 30 mins.
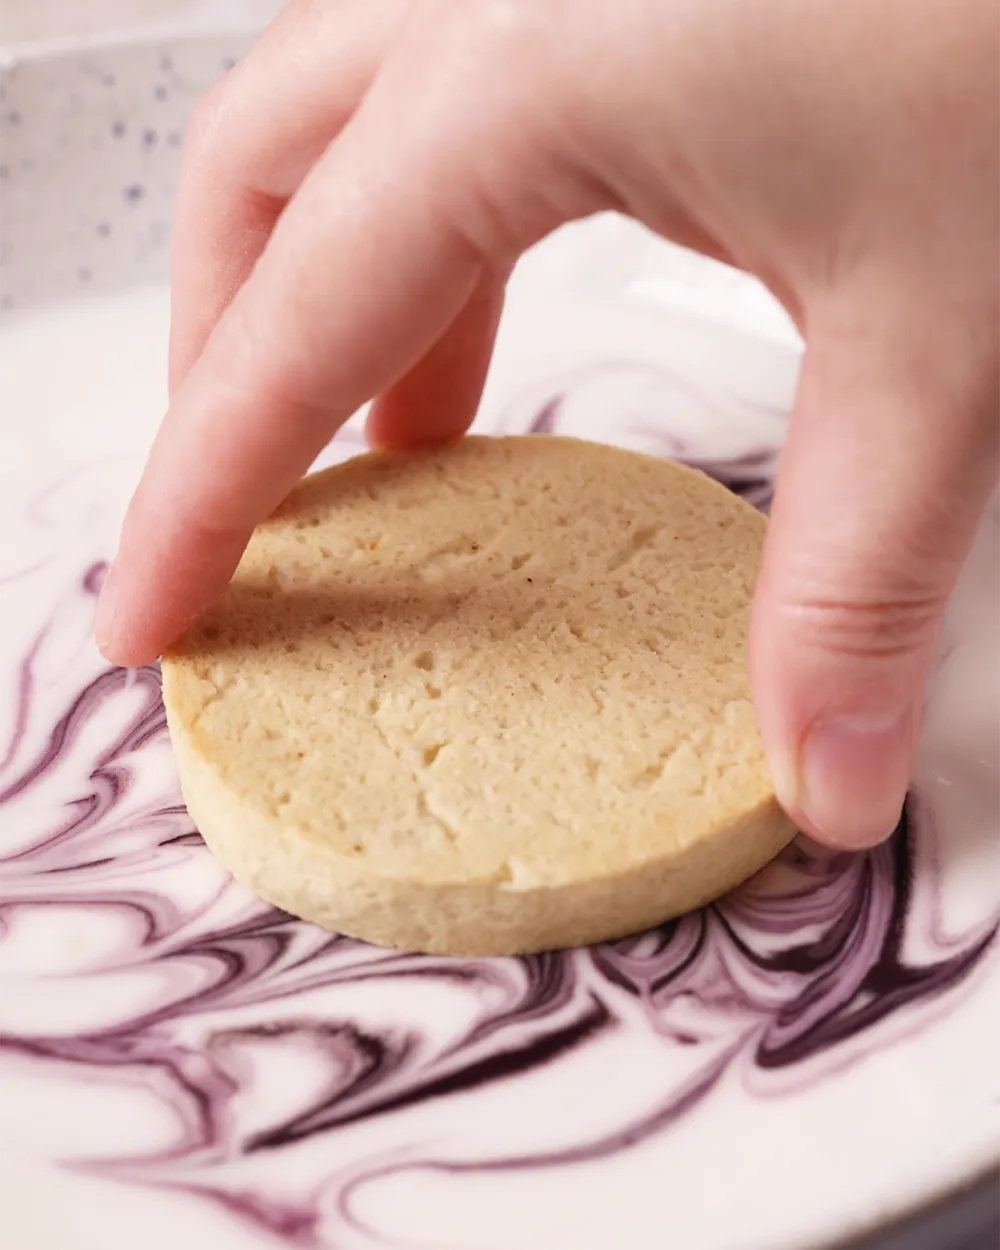
- Once chilled, cut the dough using a round cookie cutter. We used a 7cm/2.75 inch cutter.
- Place the cut dough onto a baking tray lined with either a silicone mat or non-stick baking paper, leaving a gap between each.
- Put the baking tray in a preheated oven at 160°C fan and bake for 12-15 mins.
- Remove from the oven and leave the biscuits on the tray for 5 mins, then transfer to a wire rack to cool.
Icing
- Pour the royal icing sugar into a shallow bowl and make a well in the centre.
- Add 1 tbsp warm water to the well, along with the violet flavouring and stir, gradually incorporating the royal icing sugar.
- When the icing gets too thick to stir, add another tsp of warm water and keep repeating these steps until the icing runs off the spoon in ribbons and forms a pattern on top of the bowl of icing. When you jiggle the bowl, the pattern should disappear.
- Add a few drops of purple food colouring to the icing and swirl it around using a cocktail stick or sharp knife.
- Dunk the top of a biscuit into the icing, lightly pushing it down.
- Lift and hold upside down to allow any excess icing to run off.
- Tap the biscuit on your work surface and pop any air bubbles using a cocktail stick (or similar).
- Repeat for the rest of the biscuits, swirling the icing in between each. Add more food colouring if necessary.
- Either dry the biscuits over night at room temperature or place them on a baking tray and pop them into the oven at its lowest temperature for approx. 30 mins.
- To further decorate, dip a small food safe paint brush into some gold edible paint, then flick the brush to splatter the paint across each biscuit.
- Enjoy!