Instructions
1) Preheat your oven to 190C/180C Fan/375F and line two-three baking trays with parchment paper, leave to the side!
2) Mix together the Unsalted Butter and Light Brown Sugar until light and fluffy and thoroughly combined – using an electric mixer with the paddle attachment makes it get very fluffy and perfect!
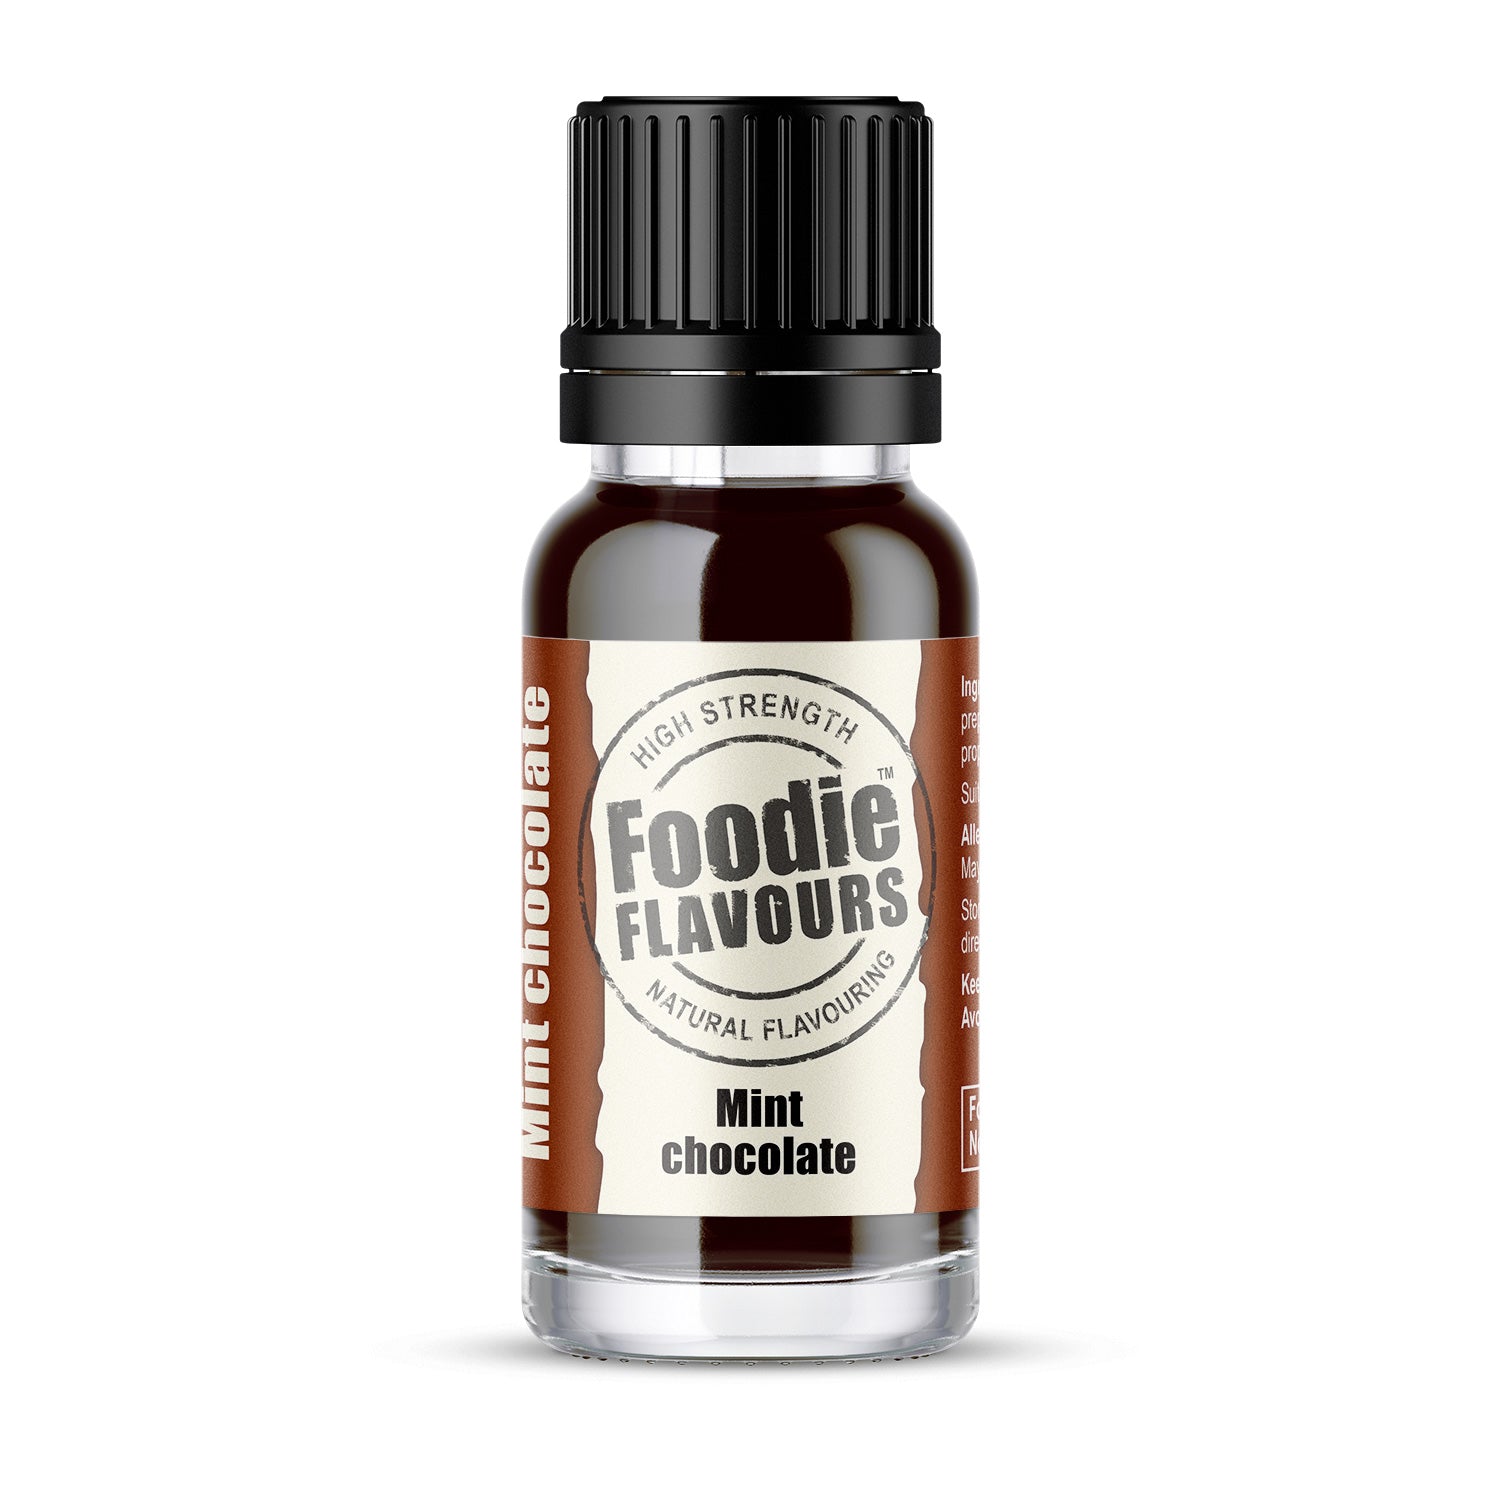
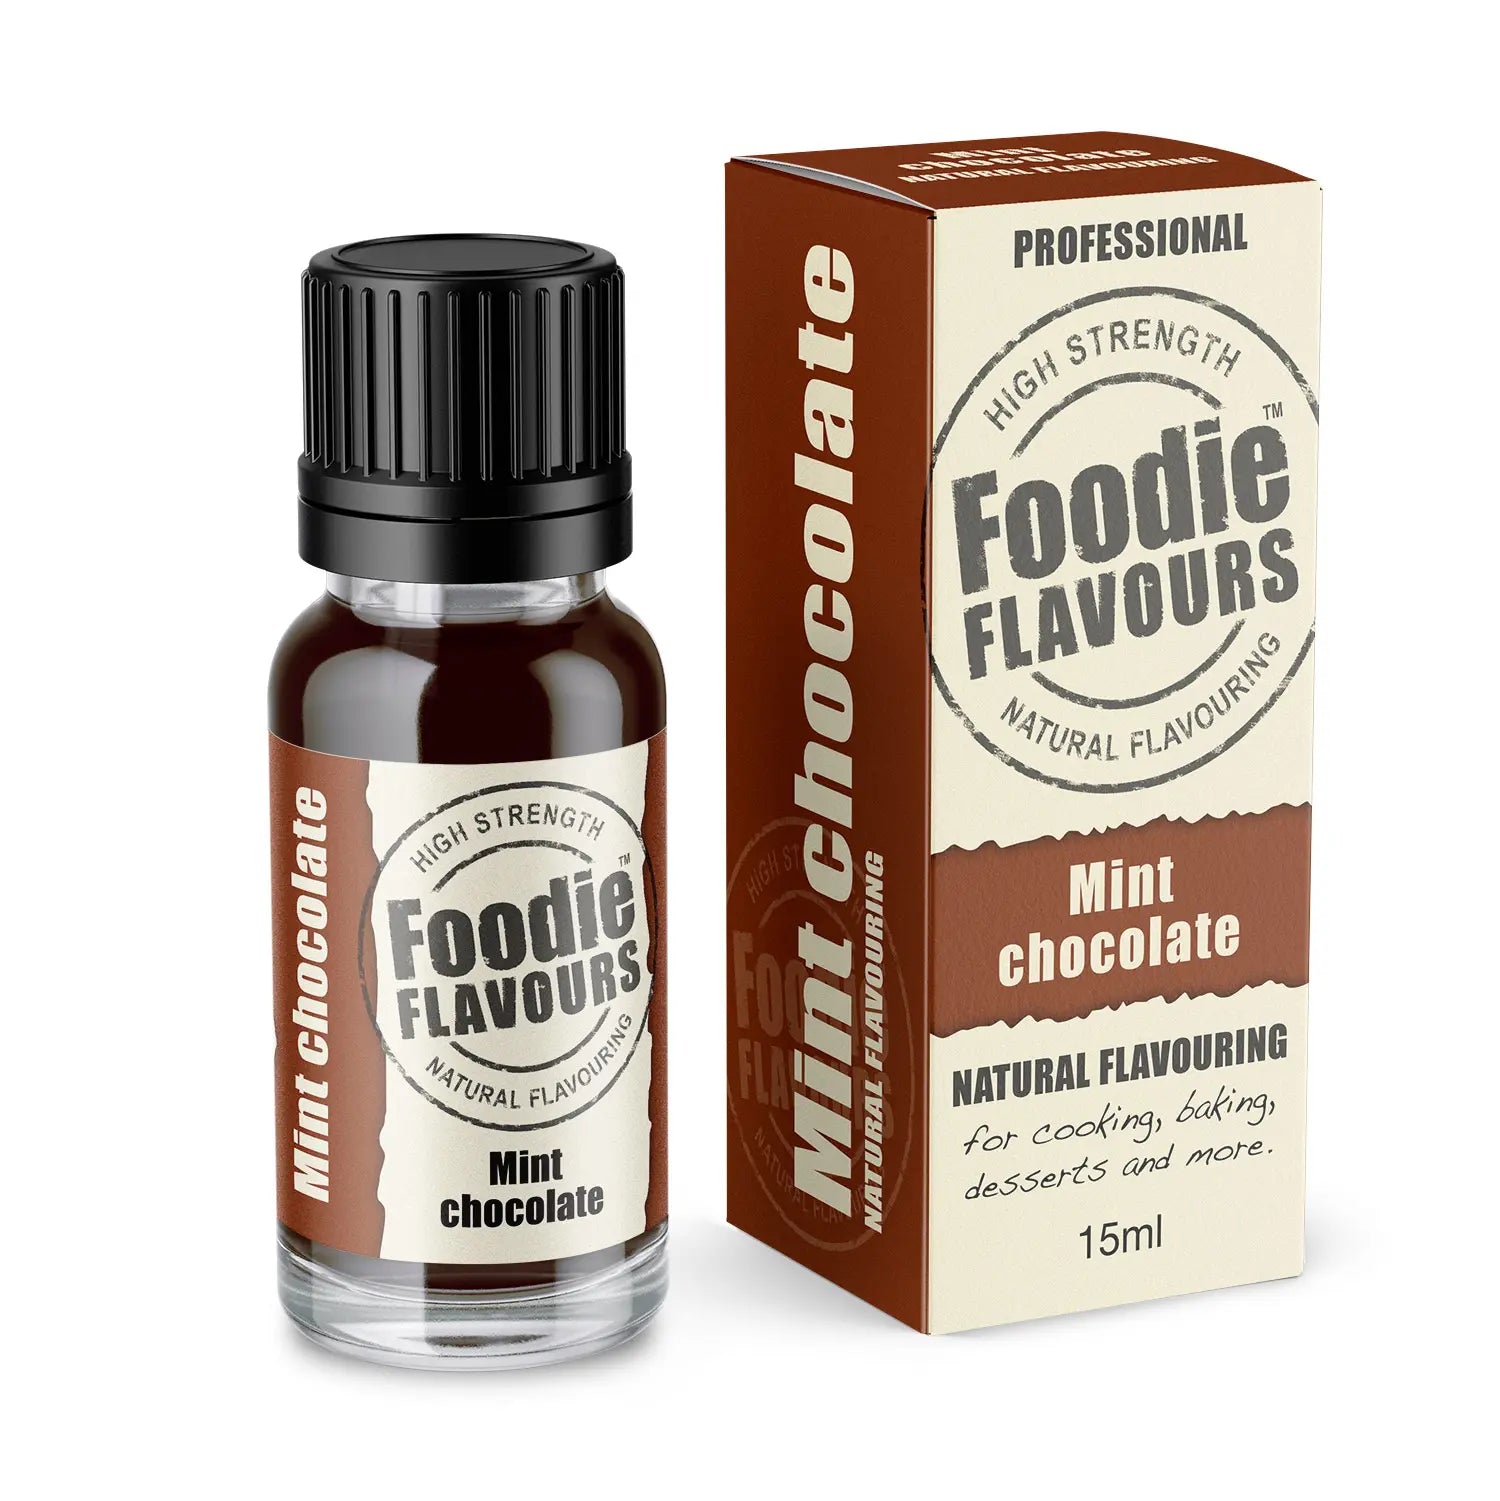
3) Add in the Egg, Cocoa Powder, Flour, Bicarbonate of Soda, Baking Powder and Salt and most importantly the Mint Chocolate Flavouring and beat until a thick paste/cookie dough is formed
4) Fold in the Chocolate Chips, and spoon the mixture onto the trays and make sure they are suitable spread out so they stay separate! (I usually fit 6 on each tray to be safe) I also use a cookie dropper/ice cream scoop to make them identical sizes.
5) Bake the cookies in the oven for 12 minutes until spread out perfectly & nice and crinkly.
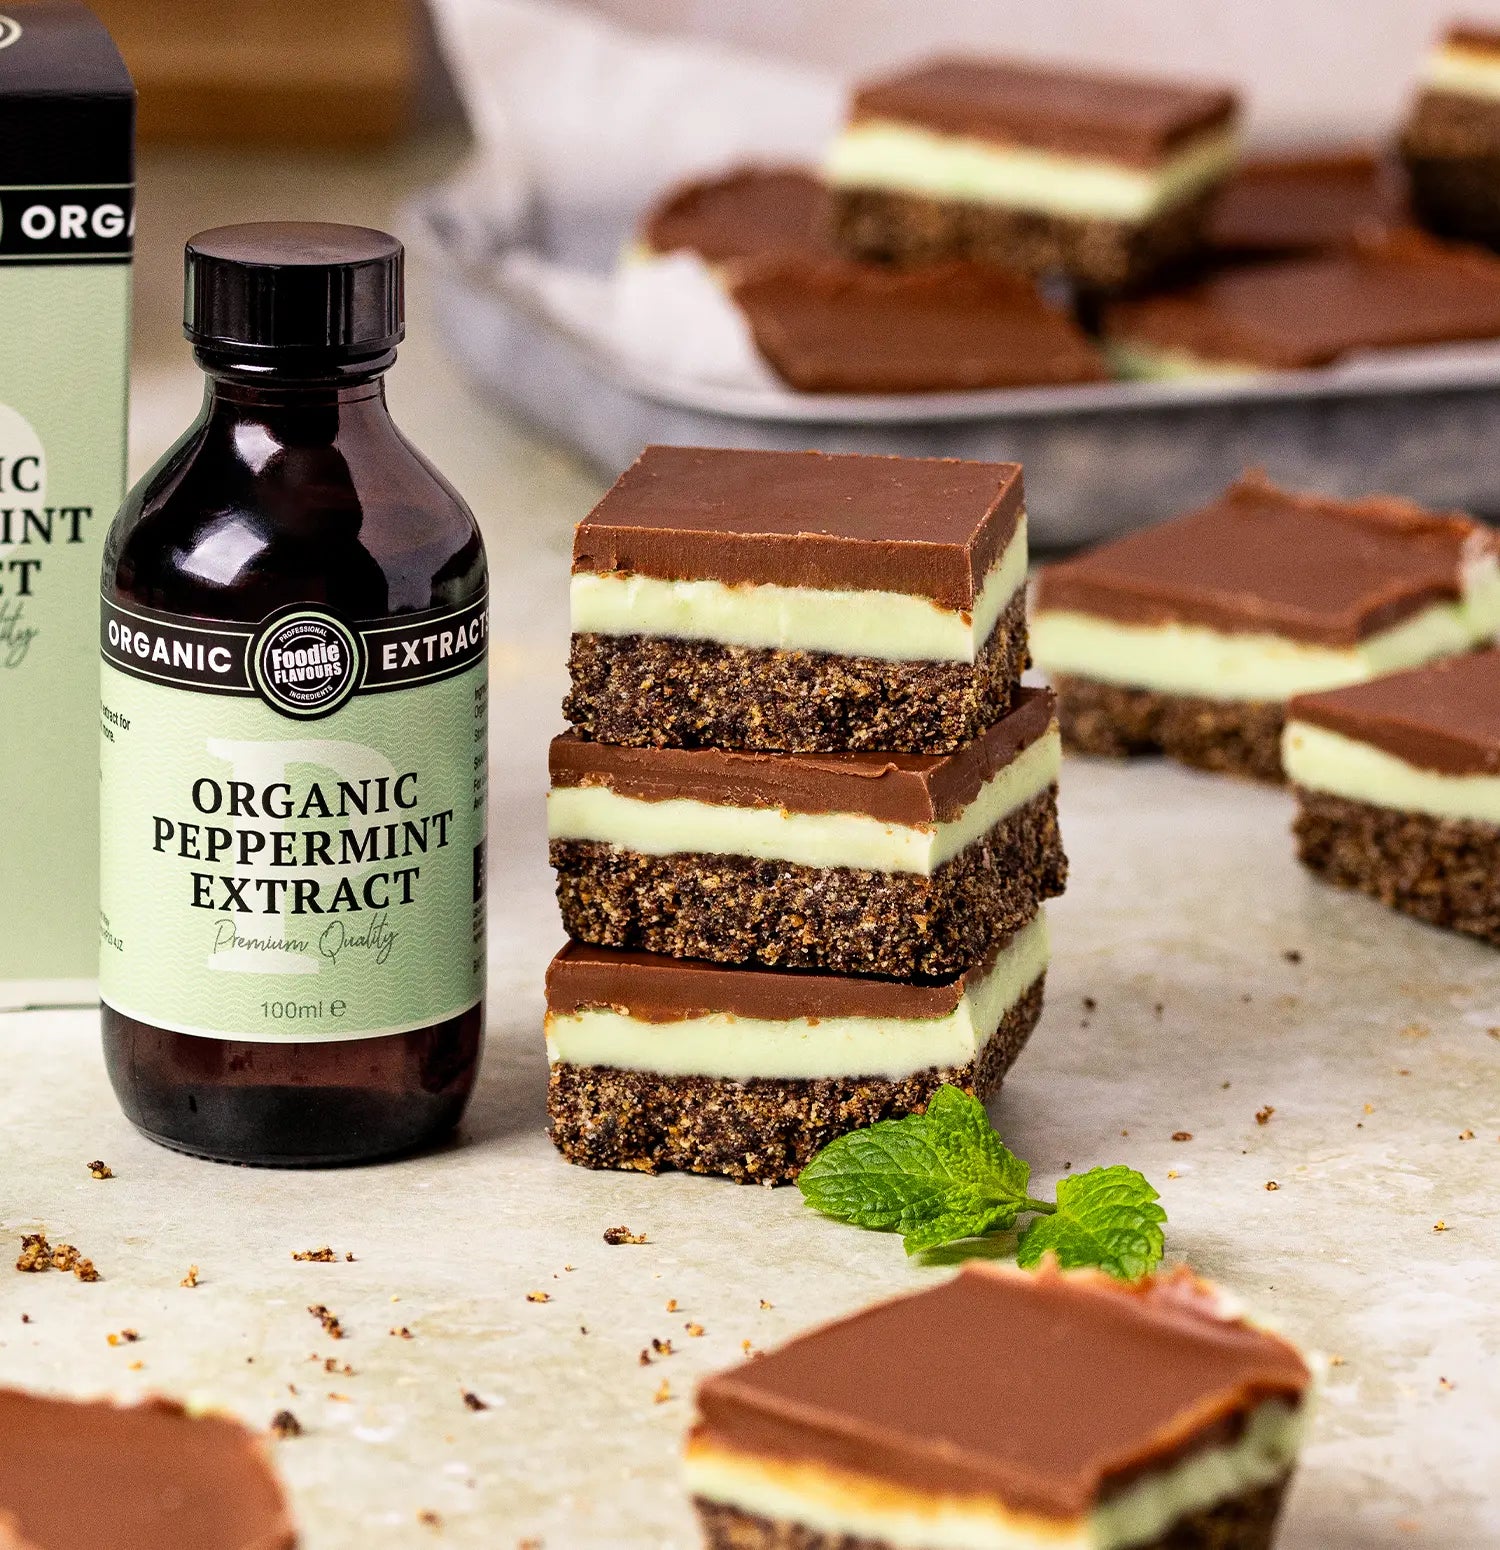
6) Once baked, remove from the oven and leave to cool on a wire rack. Melt the White Chocolate on a low heat and mix in some green food colouring, drizzle over the cookies and leave to set. Finally, gobble them all up – but people might get a bit funny if you don’t share them!
For the full recipe with tips and a description head to www.janespatisserie.com
Jane’s view of Foodie Flavours:
"When Foodie Flavours sent me some of their new flavours I knew I would like them as the others I have tried in the past are just amazing and I am not saying that for more freebies. Honestly, if I didn’t like something, I would be honest about it! As this flavouring really was so damn delicious.. I seriously recommend it."